
官方Gitee地址
fluent-mybatis官方文档
环境准备
- JDK:1.8
- MySql:5.7(win10安装教程:https://blog.csdn.net/baidu_36602427/article/details/88387630)
- Eclipse:2021 09 R(当前最新版本)
- SpringBoot:2.6.0(当前最新稳定版本)
快速创建Springboot项目
官方网址: https://start.spring.io/
引入必须的Maven依赖
<!-- 引入fluent-mybatis 运行依赖包, scope为compile -->
<dependency>
    <groupId>com.github.atool</groupId>
    <artifactId>fluent-mybatis</artifactId>
    <version>1.9.1</version>
</dependency>
<!-- 引入fluent-mybatis-processor, scope设置为provider 编译需要,运行时不需要 -->
<dependency>
    <groupId>com.github.atool</groupId>
    <artifactId>fluent-mybatis-processor</artifactId>
    <version>1.9.1</version>
</dependency>

<!-- mybatis -->
<dependency>
	<groupId>org.mybatis.spring.boot</groupId>
	<artifactId>mybatis-spring-boot-starter</artifactId>
	<version>2.2.0</version>
</dependency>

<!--mysql -->
<dependency>
	<groupId>mysql</groupId>
	<artifactId>mysql-connector-java</artifactId>
	<scope>runtime</scope>
</dependency>

<!-- lombok -->
<dependency>
	<groupId>org.projectlombok</groupId>
	<artifactId>lombok</artifactId>
	<optional>true</optional>
</dependency>
Eclipse安装lombok
-
官网下载 lombok.jar(https://projectlombok.org/download)。
-
直接运行 jar(java -jar lombok.jar 包的绝对路径),如图所示:
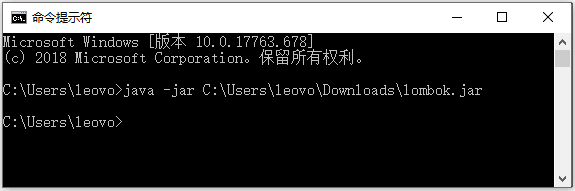
然后会显示一个界面:
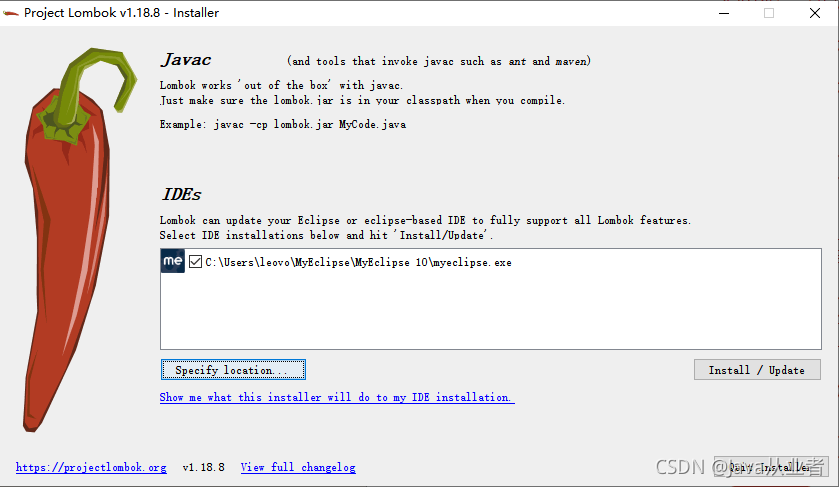
点击 Install/Update 按钮即可安装成功,重启 IDE 即可使用。
注:如果安装完lombok后打不开Eclipse,请检查Eclipse的存放路径是否含有中文,有则改为英文。
在MySql中建立数据库和表
create schema fluent_mybatis;
create table hello_world
(
id bigint unsigned auto_increment primary key,
say_hello varchar(100) null,
your_name varchar(100) null,
gmt_created datetime DEFAULT NULL COMMENT ‘创建时间’,
gmt_modified datetime DEFAULT NULL COMMENT ‘更新时间’,
is_deleted tinyint(2) DEFAULT 0 COMMENT ‘是否逻辑删除’
) ENGINE = InnoDB
CHARACTER SET = utf8 comment ‘简单演示表’;

使用fluent-mybatis生成数据表对应的实体类
- 新建测试类EntityGeneratorDemo1

代码:
package com.example.demo;

import org.junit.jupiter.api.Test;

import cn.org.atool.generator.FileGenerator;
import cn.org.atool.generator.annotation.Tables;
import cn.org.atool.generator.annotation.Table;

public class EntityGeneratorDemo1 {
    public static final String url = "jdbc:mysql://localhost:3306/fluent_mybatis?useUnicode=true&characterEncoding=utf8";


    @Test
    public void generate() throws Exception {
        FileGenerator.build(Empty.class);
    }

    @Tables(
        // 设置数据库连接信息
        url = url, username = "root", password = "123456",
        // 设置entity类生成src目录, 相对于 user.dir
        srcDir = "src/main/java",
        // 设置entity类的package值
        basePack = "com.example.demo.entity",
        // 设置dao接口和实现的src目录, 相对于 user.dir
        daoDir = "src/main/java",
        // 设置哪些表要生成Entity文件
        tables = {@Table(value = {"hello_world"})}
    )
    static class Empty {
    }
}
- 运行测试方法并 刷新项目 即可看到自动生成的类文件:
3. 有类报错不要慌,往下看:
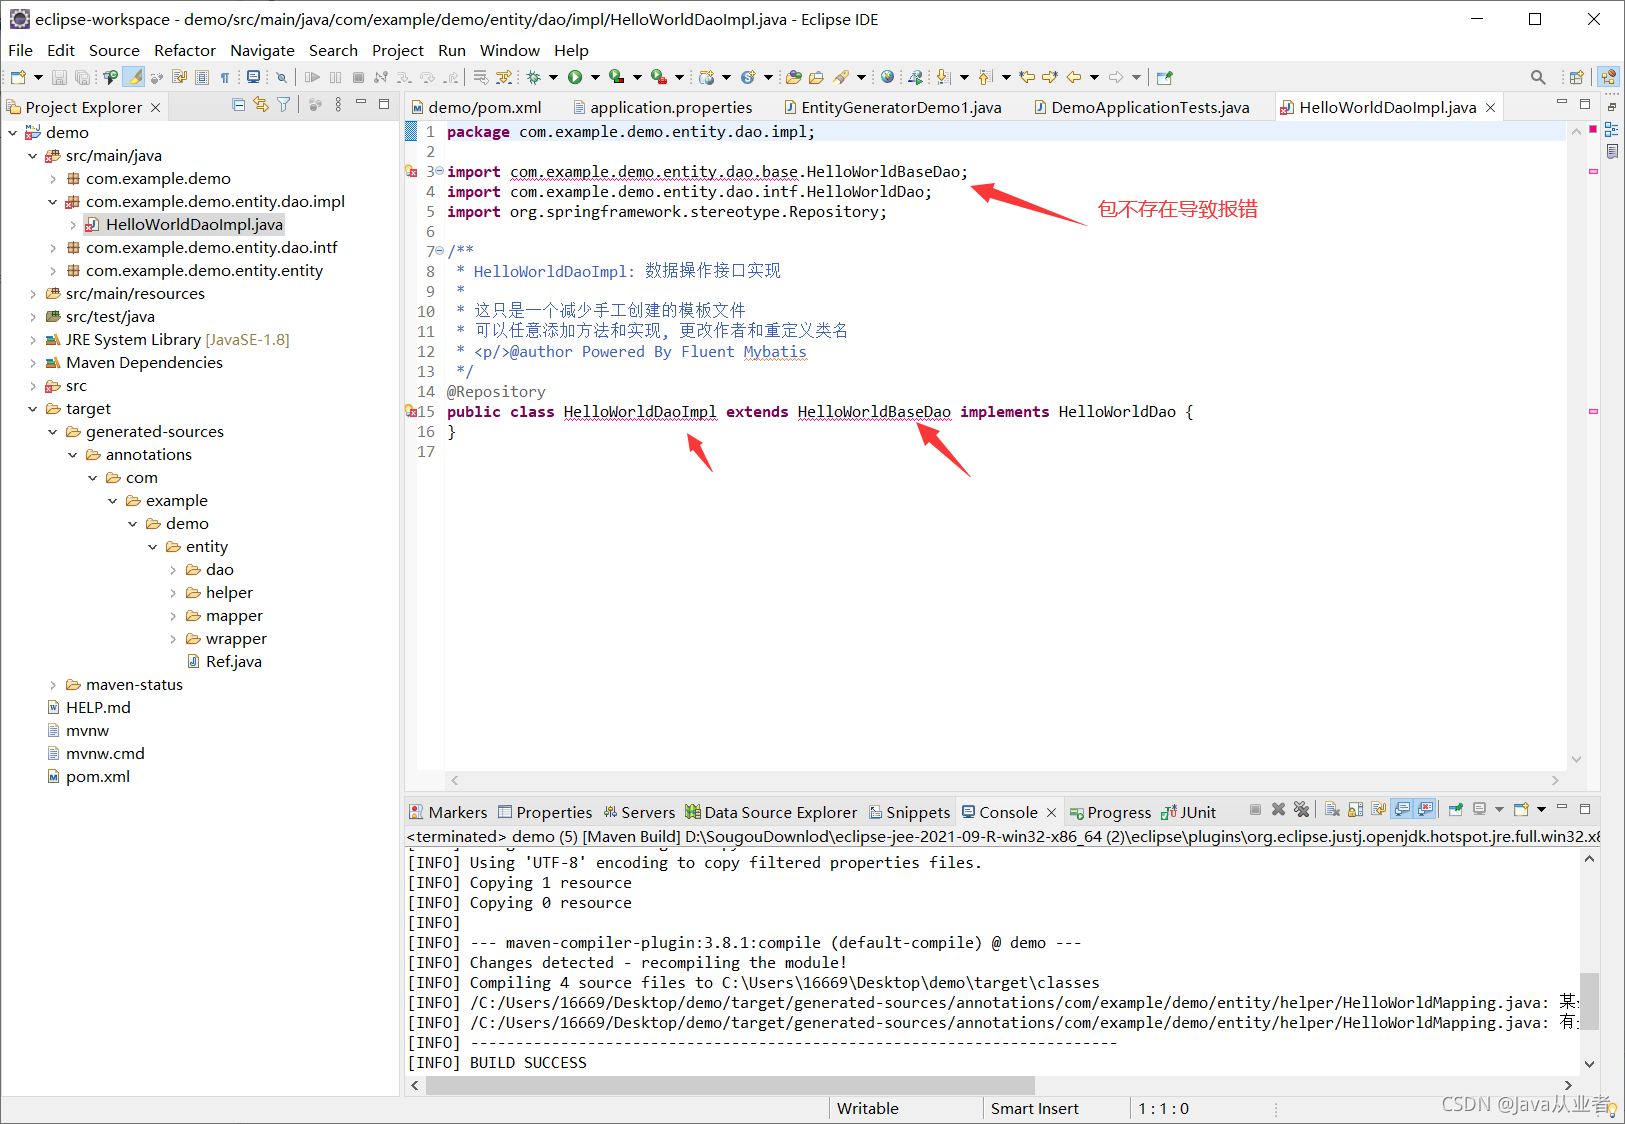
- 执行Maven命令 clean compile 生成target中的代码,刷新项目 后查看target中的文件:

5. 重头戏来了,如何引用target中的类文件,官方教程中使用的是idea,那么在Eclipse中怎么处理呢?这里感谢fluent-mybatis作者的指教:
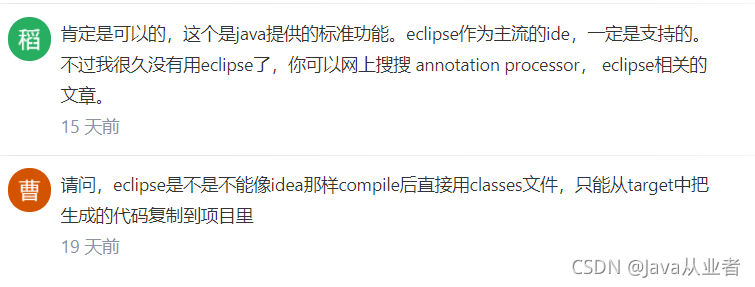
下面给出解决方法:右击项目名 =>> Properties =>> Java Compiler =>> Annotation Processing =>> 勾选Enable project specific settings =>> 将Generated source directory替换为/target/generated-sources/annotations/

写个controller运行项目
- 在application.properties文件中添加数据库信息
spring.datasource.driverClassName=com.mysql.jdbc.Driver
spring.datasource.url=jdbc:mysql://localhost:3306/fluent_mybatis?useUnicode=true&characterEncoding=utf8
spring.datasource.username=root
spring.datasource.password=123456
-
先在pom文件里添加web依赖
<dependency> <groupId>org.springframework.boot</groupId> <artifactId>spring-boot-starter-web</artifactId> </dependency> -
编写DemoController类
package com.example.demo.controller;

import org.springframework.beans.factory.annotation.Autowired;
import org.springframework.web.bind.annotation.GetMapping;
import org.springframework.web.bind.annotation.RestController;

import com.example.demo.entity.entity.HelloWorldEntity;
import com.example.demo.entity.mapper.HelloWorldMapper;
import com.example.demo.entity.wrapper.HelloWorldQuery;

import cn.org.atool.fluent.mybatis.model.StdPagedList;

@RestController
public class DemoController {

    @Autowired
    private HelloWorldMapper maper;

    @GetMapping("/hello")
    public String hello() {
        return "hello";
    }

    @GetMapping("/list")
    public StdPagedList<HelloWorldEntity> list() {

    	HelloWorldEntity entity = new HelloWorldEntity();
    	entity.setYourName("xiaomi");

    	maper.insert(entity);

    	HelloWorldQuery query = new HelloWorldQuery().orderBy.id().asc().end().limit(0, 10);
        StdPagedList<HelloWorldEntity> list = maper.stdPagedEntity(query);

        return list;
    }
}
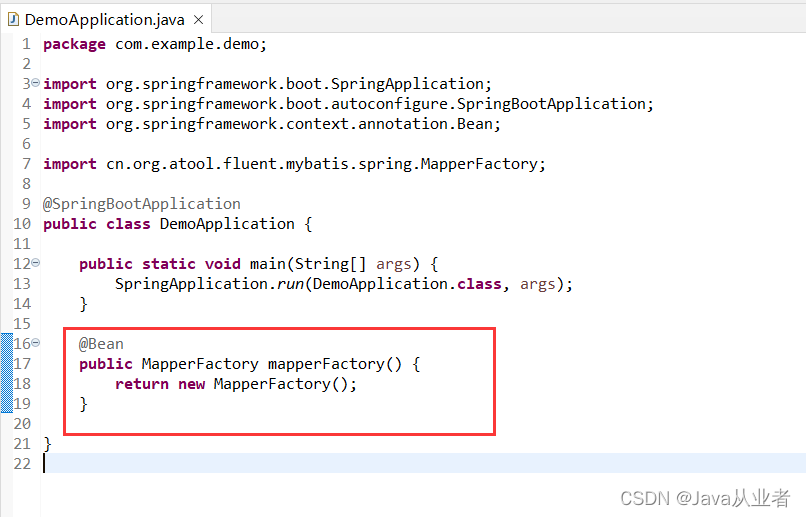
- 启动项目报错:

解决办法是在启动类添加缺少的bean:
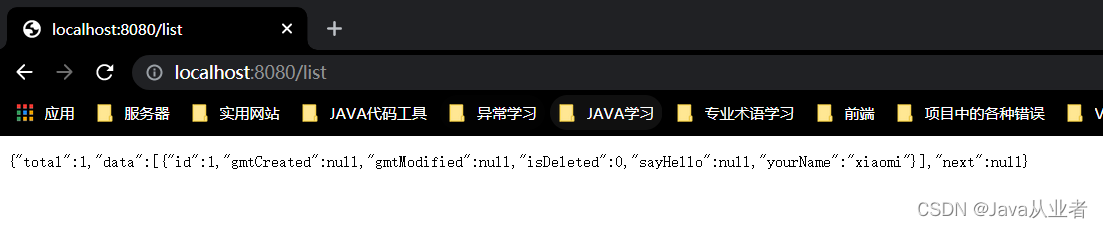
- 启动项目访问 http://localhost:8080/list,大功告成:
采坑预警:fluent-mybatis项目里不能使用 热部署, 原因是热部署,会启动不同的classloader,导致同一个class在热部署中会比较成2个class
Gitee地址
以上测试项目Gitee地址:https://gitee.com/caojianbang168/fluent-mybatis-demo.git