
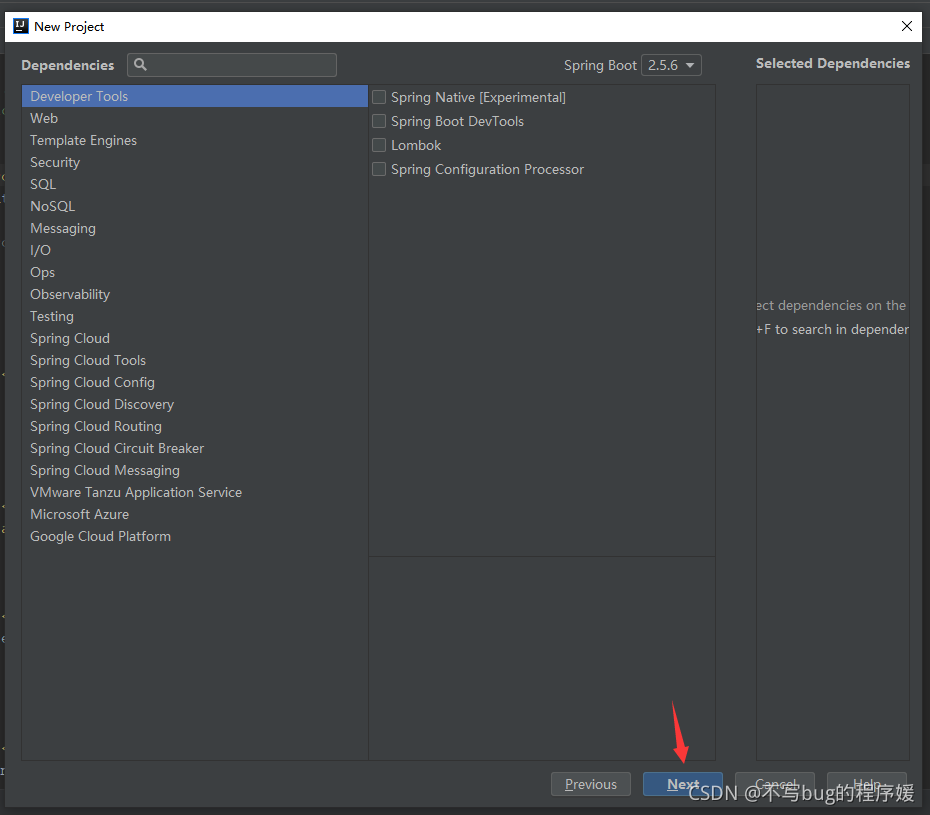
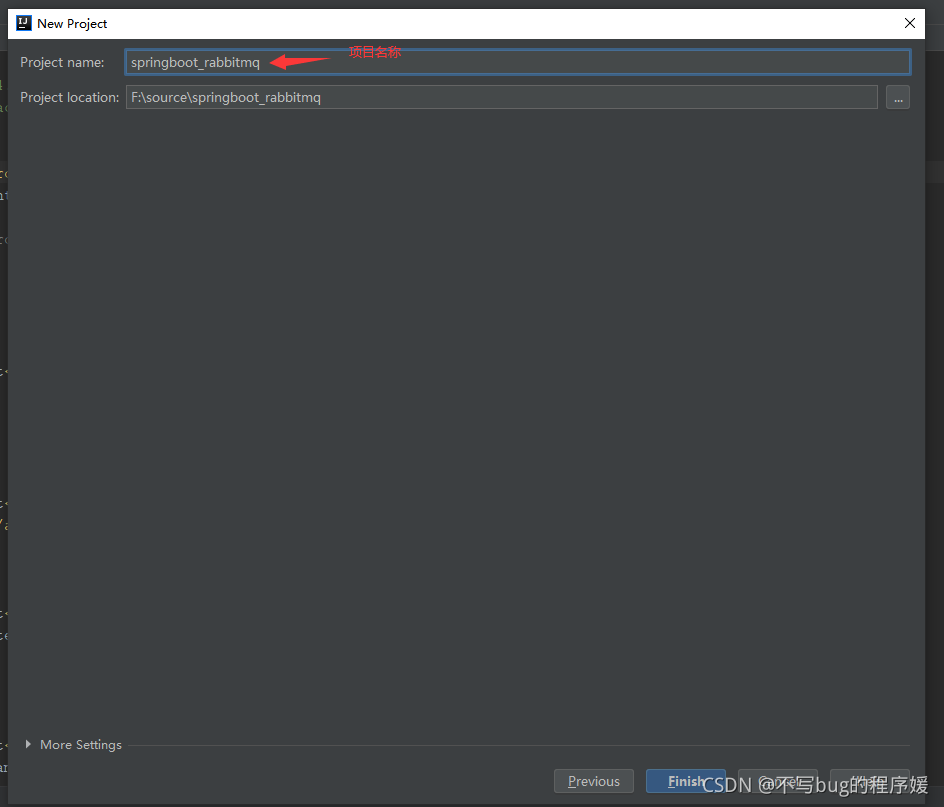
首先创建一个maven项目:
idea-->File-->new Project
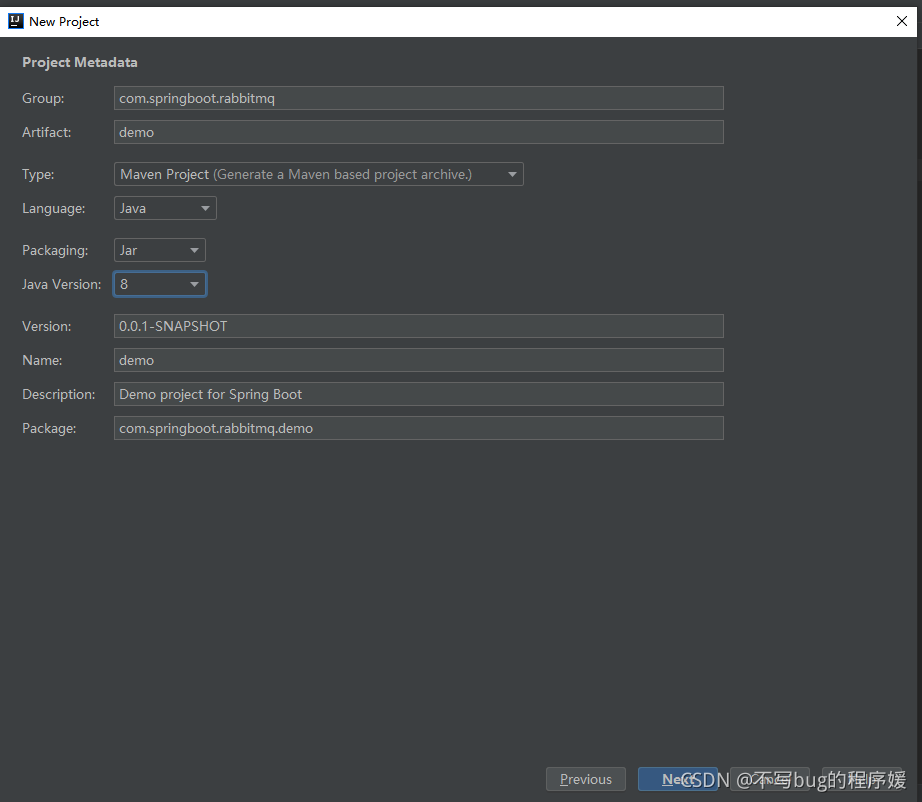
一个springboot项目建成,初始的pom.xml如下: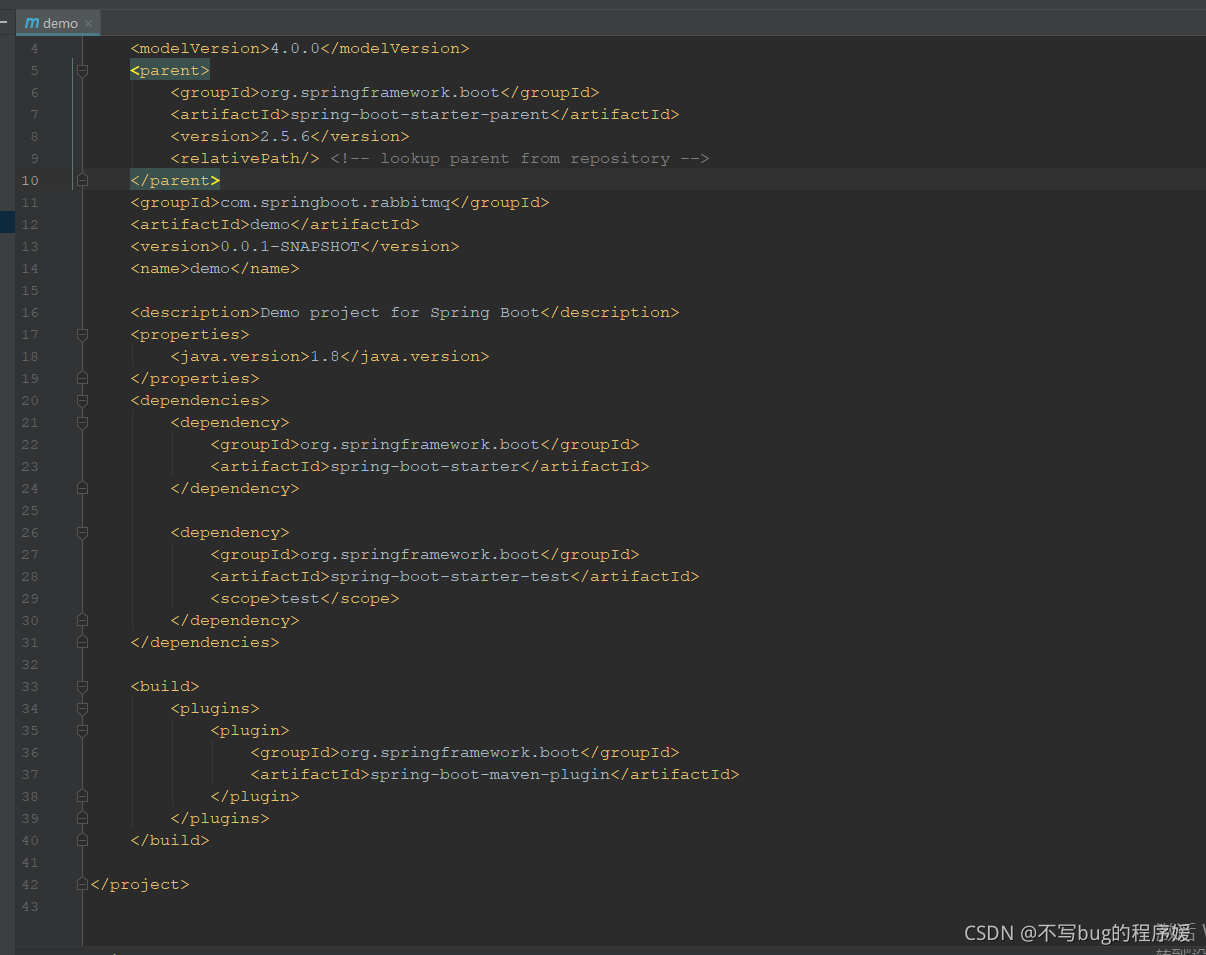
在加rabbitmq的jar包,和一个junit的包用来测试
       <dependency>
            <groupId>org.springframework.boot</groupId>
            <artifactId>spring-boot-starter-amqp</artifactId>
        </dependency>
        <dependency>
            <groupId>junit</groupId>
            <artifactId>junit</artifactId>
        </dependency>
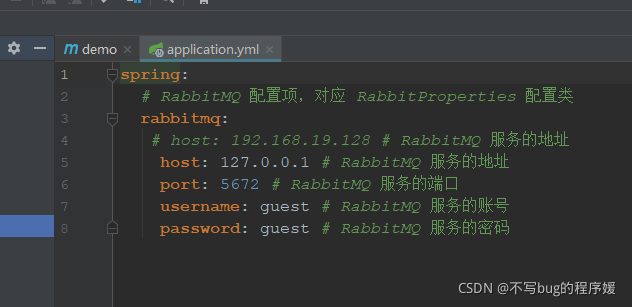
application.yml配置文件
环境搭建完成,接下来进入rabbitmq的demo
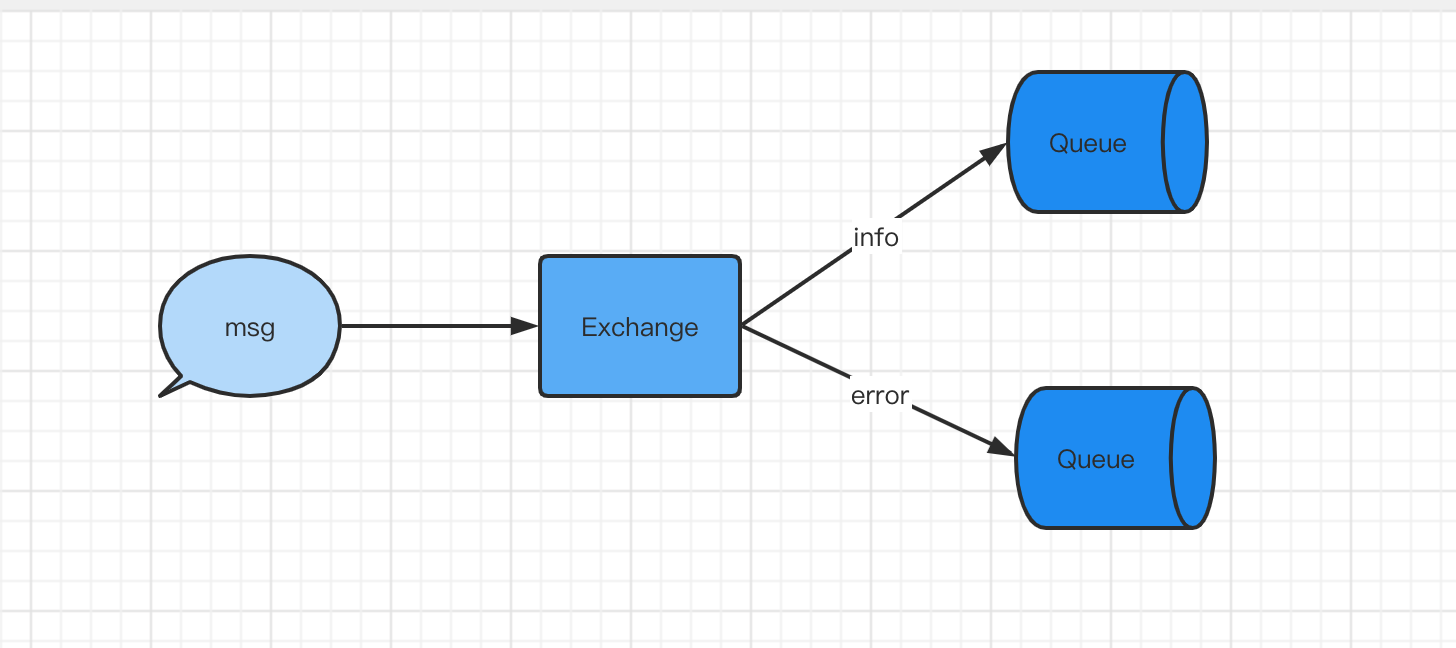
Exchange类型
- direct:
Direct-Exchange会把它接收到的消息发往与它有绑定关系且Routingkey完全匹配的Queue中(默认)。 - topic:
Topic-Exchange与Direct-Exchange相似,不过Topic-Exchange不需要全匹配,可以部分匹配,它约定:Routingkey为一个句点号“. ”分隔的字符串(我们将被句点号“. ”分隔开的每一段独立的字符串称为一个单词) - fanout:
Fanout-Exchange会将它接收到的消息发往所有与他绑定的Queue中。 - header:
Header-Exchange不依赖于RoutingKey或绑定关系来分发消息,而是根据发送的消息内容中的headers属性进行匹配。此模式已经不再使用
Direct-Exchange:
Direct-Exchange是一种精准匹配的交换机
将queue绑定到不同routingKey,然后发送消息指定routingKey,就由绑定的queue消费
代码实现:
首先添加一个config包:
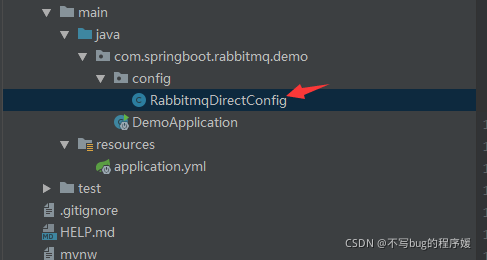
config类里的代码如下:绑定交换机和队列和路由key
package com.springboot.rabbitmq.demo.config;

import org.springframework.amqp.core.*;
import org.springframework.beans.factory.annotation.Qualifier;
import org.springframework.context.annotation.Bean;
import org.springframework.context.annotation.Configuration;

@Configuration
public class RabbitmqDirectConfig {

    public static final String QUEUE_NAME = "QUEUE_DEMO_DIRECT";

    public static final String EXCHANGE_NAME = "direct_exchange";

    public static final String ROUTING_KEY = "ROUTING_KEY_01";

    @Bean("bootDirectExchange")
    public Exchange bootDirectExchange(){
        return ExchangeBuilder.directExchange(EXCHANGE_NAME).durable(true).build();
    }

    @Bean("bootDirectQueue")
    public Queue bootDirectQueue(){
        return QueueBuilder.durable(QUEUE_NAME).build();
    }

    @Bean
    public Binding bindDirectQueueExchange(@Qualifier("bootDirectQueue") Queue queue, @Qualifier("bootDirectExchange") Exchange exchange){
        return BindingBuilder.bind(queue).to(exchange).with(ROUTING_KEY).noargs();
    }

}
创建一个consumer包,监听队列:
package com.rabbitmq.demo.consumer;

import org.slf4j.Logger;
import org.slf4j.LoggerFactory;
import org.springframework.amqp.core.Message;
import org.springframework.amqp.rabbit.annotation.RabbitListener;
import org.springframework.stereotype.Component;


@Component
public class RabbitmqListener {

  private Logger logger= LoggerFactory.getLogger(RabbitmqListener.class);


    @RabbitListener(queues = "QUEUE_DEMO_DIRECT")
    public void ListenerQueue01(Message message){
        System.out.println("mess===="+message);
        logger.info("[onMessage][线程编号:{} 消息内容:{}]", Thread.currentThread().getId(),
    message);
    }
}
测试类,发送消息到交换机,交换机绑定的队列就能收到消息进行消费消息:
package com.rabbitmq.demo;

import com.rabbitmq.demo.config.RabbitmqDirectConfig;
import com.rabbitmq.demo.config.RabbitmqFanoutConfig;
import com.rabbitmq.demo.config.RabbitmqTopicConfig;
import org.junit.Test;
import org.junit.runner.RunWith;
import org.springframework.amqp.rabbit.core.RabbitTemplate;
import org.springframework.beans.factory.annotation.Autowired;
import org.springframework.boot.test.context.SpringBootTest;
import org.springframework.test.context.junit4.SpringRunner;

@RunWith(SpringRunner.class)
@SpringBootTest
public class DemoApplicationTests {

    @Autowired
    private RabbitTemplate rabbitTemplate;

    @Test
    public void DirectExchange() {
        rabbitTemplate.convertAndSend(RabbitmqDirectConfig.EXCHANGE_NAME,RabbitmqDirectConfig.ROUTING_KEY,"boot mq hello Direct");
    }
}
执行主类,这样消费类的监听器才生效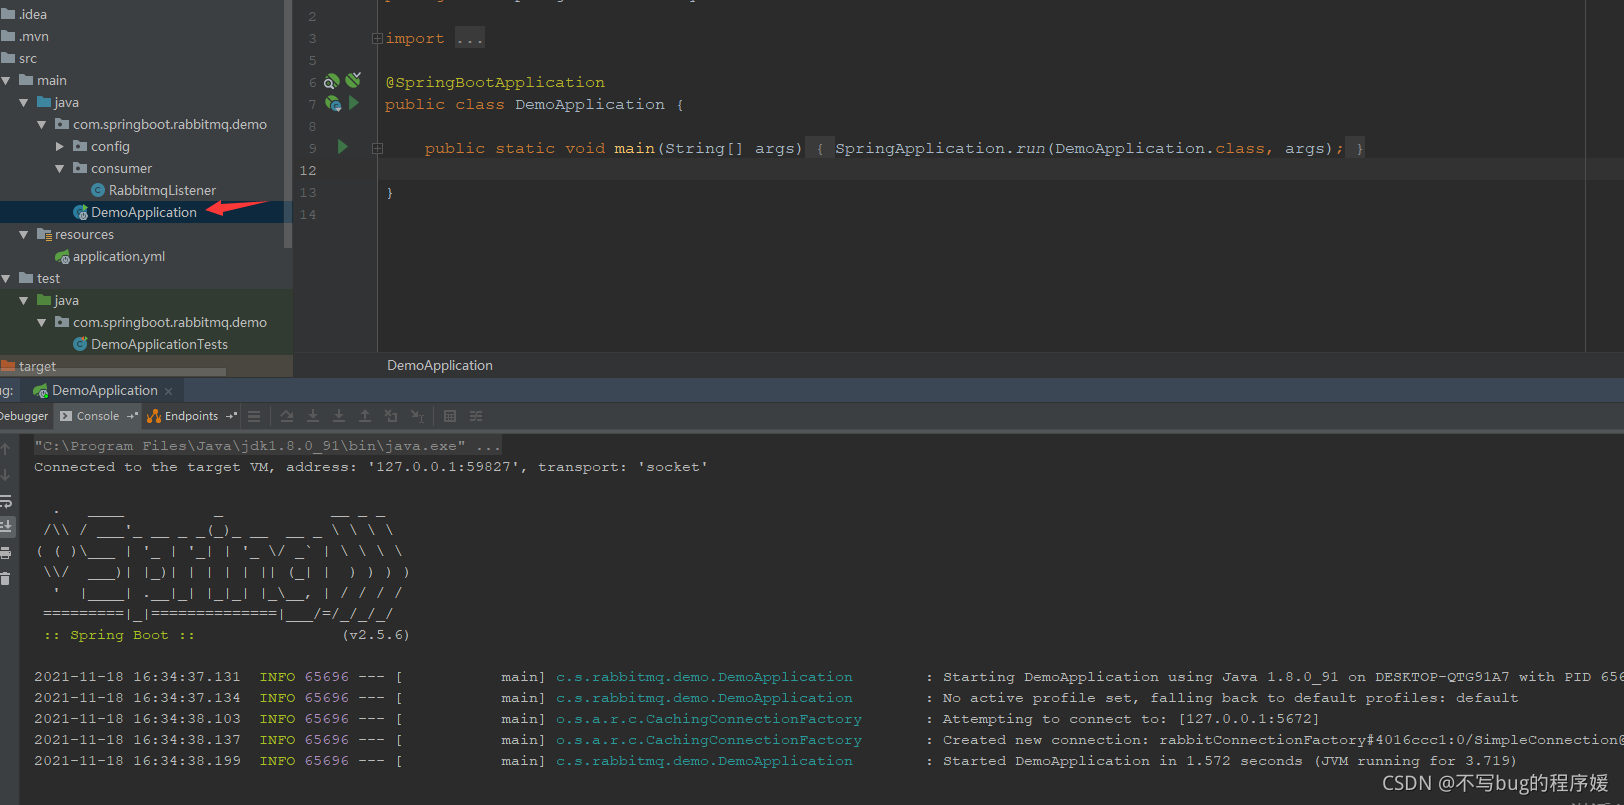
发送消息和消费成功的截图: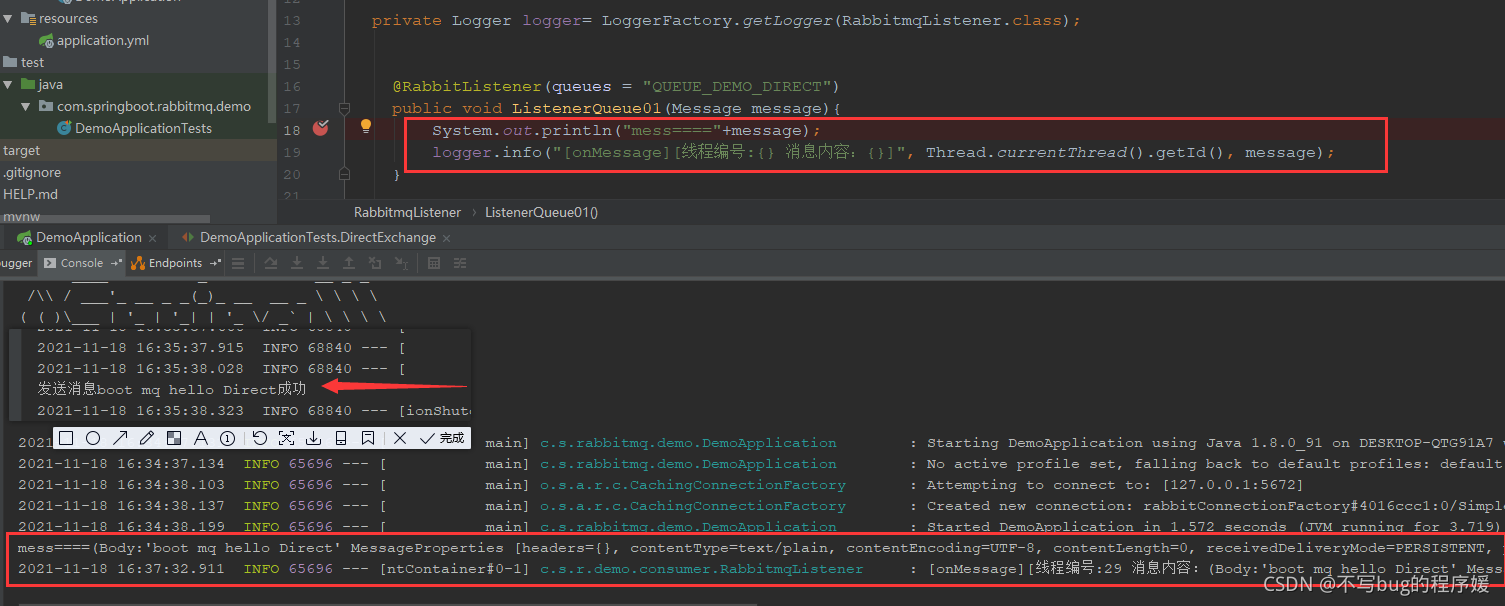
Topic-Exchange
Topic-Exchange是直接交换机的模糊匹配版本,Topic类型的交换器,支持使用"*"和"#"通配符定义模糊bindingKey,然后按照routingKey进行模糊匹配队列进行分发。
*:能够模糊匹配一个单词。#:能够模糊匹配零个或多个单词。
代码实现:
config类:绑定交换机和队列, routingKey为boot.#, 意思就是以boot.开头的都可以
package com.springboot.rabbitmq.demo.config;

import org.springframework.amqp.core.*;
import org.springframework.beans.factory.annotation.Qualifier;
import org.springframework.context.annotation.Bean;
import org.springframework.context.annotation.Configuration;

@Configuration
public class RabbitmqTopicConfig {
    private static final String QUEUE_NAME="QUEUE_DEMO_TOPIC";
    public static final String EXCHANGE_NAME="topic_exchange";


    @Bean("bootTopicExchange")
    public Exchange bootTopicExchange(){
        return ExchangeBuilder.topicExchange(EXCHANGE_NAME).durable(true).build();
    }

    @Bean("bootTopicQueue")
    public Queue bootTopicQueue(){
        return QueueBuilder.durable(QUEUE_NAME).build();
    }

    @Bean
    public Binding bindTopicQueueExchange(@Qualifier("bootTopicQueue") Queue queue, @Qualifier("bootTopicExchange") Exchange exchange){
        return BindingBuilder.bind(queue).to(exchange).with("boot.#").noargs();
    }
}
在RabbitmqListener类里添加如下代码:监听队列
  @RabbitListener(queues = "QUEUE_DEMO_TOPIC")
    public void ListenerQueue2(Message message){
        System.out.println("mess===="+message);
        logger.info("[onMessage][线程编号:{} 消息内容:{}]", Thread.currentThread().getId(),
     message);
    }
在测试类里添加发送消息的测试代码:
    @Test
   public void TopicExchange() {
        rabbitTemplate.convertAndSend(RabbitmqTopicConfig.EXCHANGE_NAME,"boot.haha","boot
      mq hello Topic");
    }
测试成功的截图: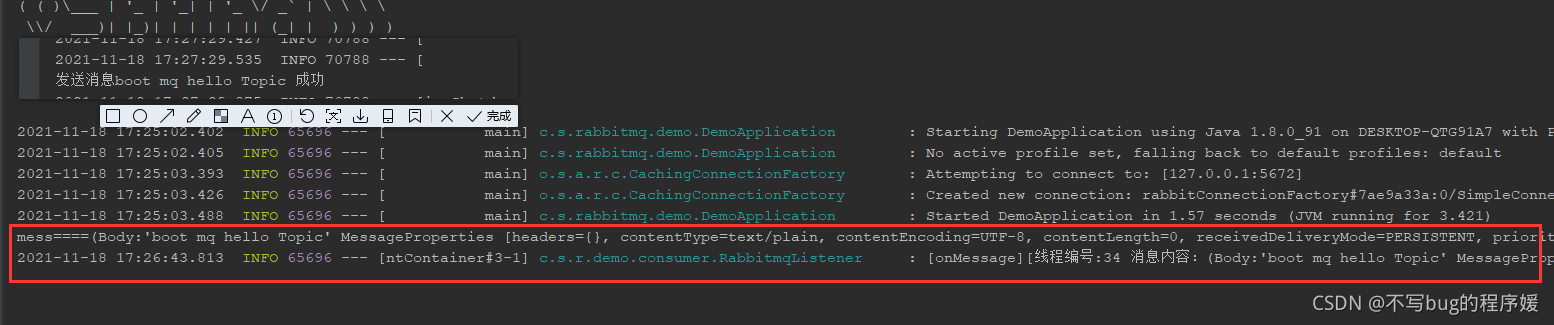
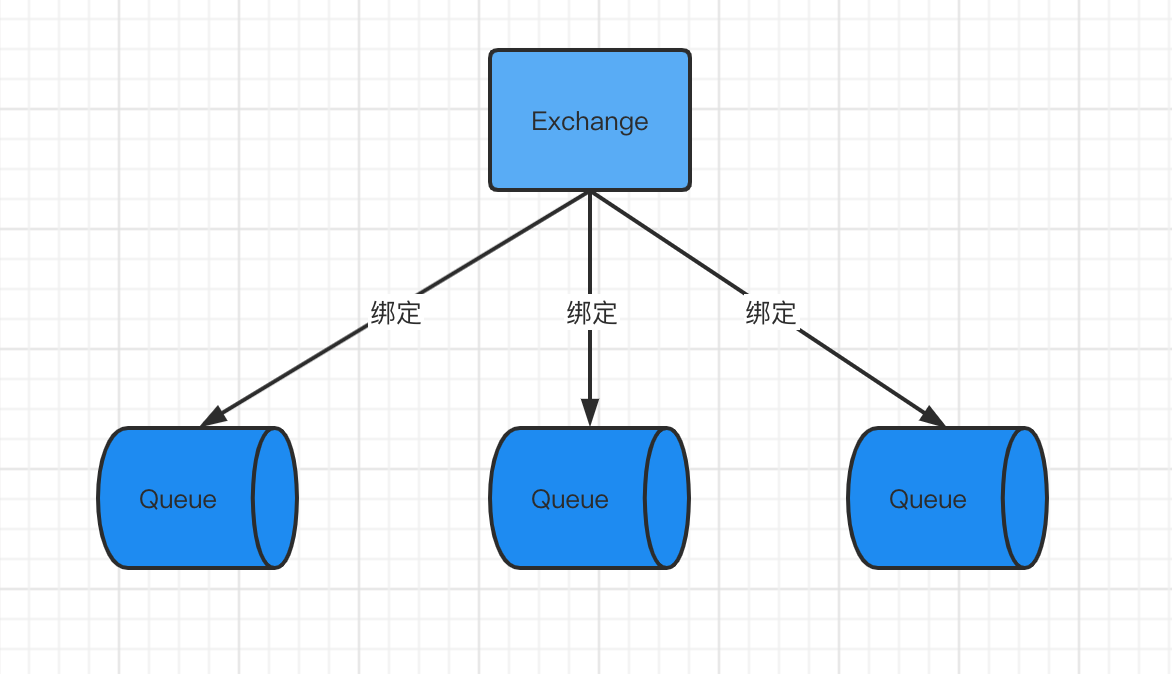
Fanout-Exchange
Fanout-Exchange又称扇形交换机
Exchange和Queue建立一个绑定关系,Exchange会分发给所有和它有绑定关系的Queue中,绑定了十个Queue就把消息复制十份进行分发。
代码实现如下:
config类:
package com.springboot.rabbitmq.demo.config;

import org.springframework.amqp.core.*;
import org.springframework.beans.factory.annotation.Qualifier;
import org.springframework.context.annotation.Bean;
import org.springframework.context.annotation.Configuration;

@Configuration
public class RabbitmqTopicConfig {
    private static final String QUEUE_NAME="QUEUE_DEMO_TOPIC";
    public static final String EXCHANGE_NAME="topic_exchange";


    @Bean("bootTopicExchange")
    public Exchange bootTopicExchange(){
        return ExchangeBuilder.topicExchange(EXCHANGE_NAME).durable(true).build();
    }

    @Bean("bootTopicQueue")
    public Queue bootTopicQueue(){
        return QueueBuilder.durable(QUEUE_NAME).build();
    }

    @Bean
    public Binding bindTopicQueueExchange(@Qualifier("bootTopicQueue") Queue queue, @Qualifier("bootTopicExchange") Exchange exchange){
        return BindingBuilder.bind(queue).to(exchange).with("boot.#").noargs();
    }
}
在RabbitmqListener类中添加:
 // fanout 模式的
    @RabbitListener(queues = "QUEUE_DEMO_FANOUT_A")
    public void ListenerQueueA(Message message){
        System.out.println("QUEUE_DEMO_FANOUT_A======="+message);
        logger.info("[onMessage][线程编号:{} 消息内容:{}]", Thread.currentThread().getId(), message);
    }
    @RabbitListener(queues = "QUEUE_DEMO_FANOUT_B")
    public void ListenerQueueB(Message message){
        System.out.println("QUEUE_DEMO_FANOUT_B======="+message);
        logger.info("[onMessage][线程编号:{} 消息内容:{}]", Thread.currentThread().getId(), message);
    }
在测试类中添加发送消息的测试:
 @Test
    public void FanoutExchange(){
        for(int i=0;i<4;i++){
            rabbitTemplate.convertAndSend(RabbitmqFanoutConfig.EXCHANGE_NAME,"",i+"===boot mq
          hello Fanout");
        }

    }
测试成功的截图如下:
我发现发送消息时有延迟,图中的1boot mq hello Fanout 是上一次的, 我在测试类中的i后面加了三个=号在试了一次。还有一个1===boot mq hello Fanout还没有发送成功的一样,因为我在控制台也没有看到消息,消息发送成功就被消费了
至止 demo完成!